
Generate provisioning profiles & Certificates iOS | Beginner’s iOS Guide 2021
In order to upload your app to App Store, you need to have a provisioning profile and distribution certificates of your app. In this tutorial, you will learn how to generate the same using your Apple Developer Account.
A provisioning profile is downloaded from your Apple Developer account and embedded within the app bundle itself.
Step 1 :
Log in to your Apple Developer account and navigate to Certificates, IDs & Profiles > Identifiers > Provisioning Profiles.
Step 2 :
Add a new provisioning profile. Click on the “+” icon.

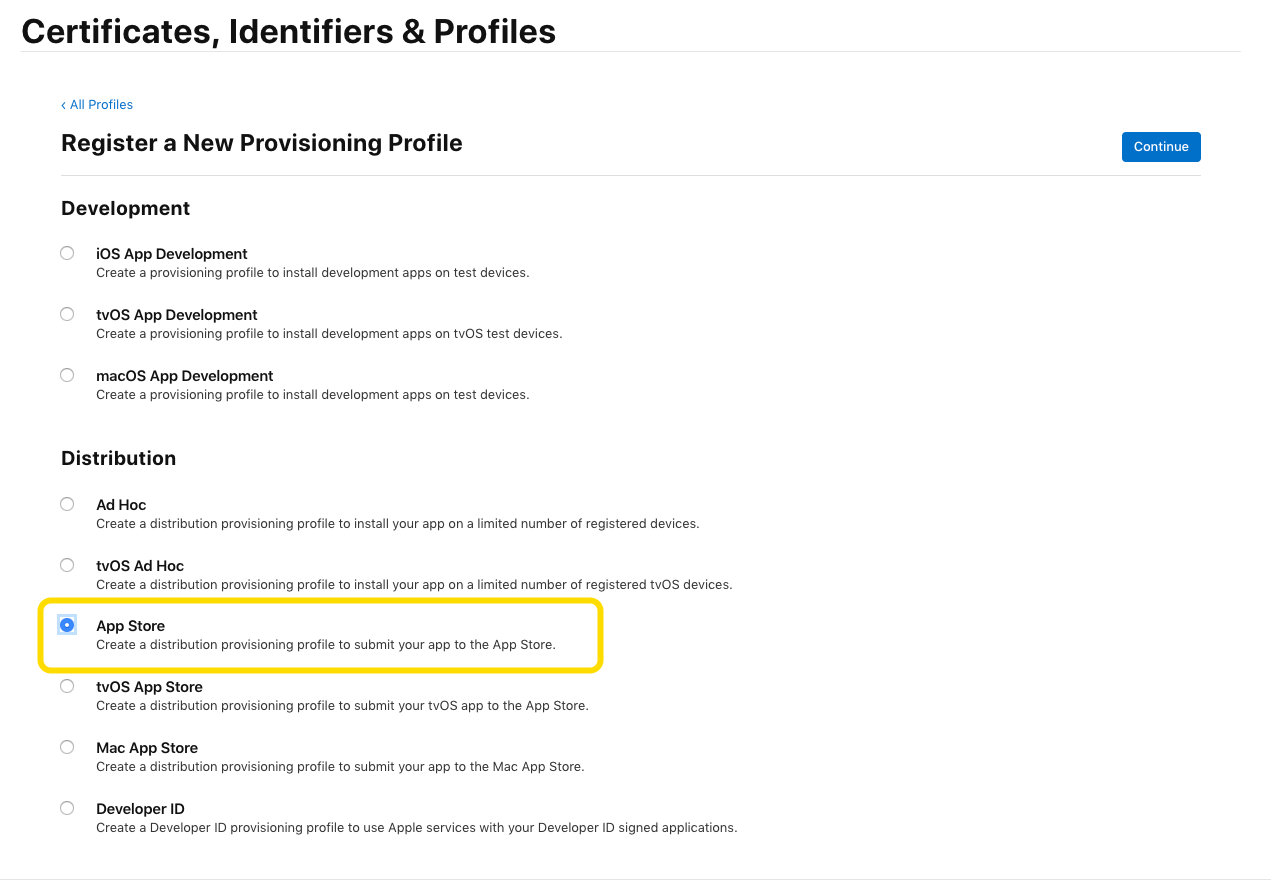
Step 3 :
Select iOS App Development for creating a development profile or select iOS App Distribution for creating a distribution profile and click Continue. Development profile is created if the app is currently in the development process only, if you need to upload the app to App Store then we create Distribution Profile
Step 4 :
Select an App ID to associate with the provisioning profile and click Continue.
To be able to use one development provisioning profile across multiple apps, select a wildcard App ID, if available.
Step 5 :
Select one or more certificates for development to include in the provisioning profile and click Continue.
Only certificates for development are listed.
Step 6 :
Select one or more devices to include in the provisioning profile and click Continue.
Step 7 :
Enter a name for the profile and click Generate.
Step 8 :
Click Download to download the provisioning profile.(optional)