
How to add image (drawable / svg) in Android Studio | Android Beginner’s Guide
In this post, we are learning methods to upload images in Android Studio of different versions. Images in android can be upload in various formats like png, jpeg, SVG, etc. Also, you should be uploading images of less size in order to load them smoothly and decrease the app size.
Image upload in Android Studio 3.4 and above :
Step 1:
Open your project in android studio and head to Resource Manager in the left corner below the Project tab. You will find all the added images of the project here.
Step 2 :
Click over (+) Plus sign, you will see list of options to upload different types of images

Step 3:
To upload a image file :
- Click on Import Drawables > File Manager will popup > Select your image > Click Open.

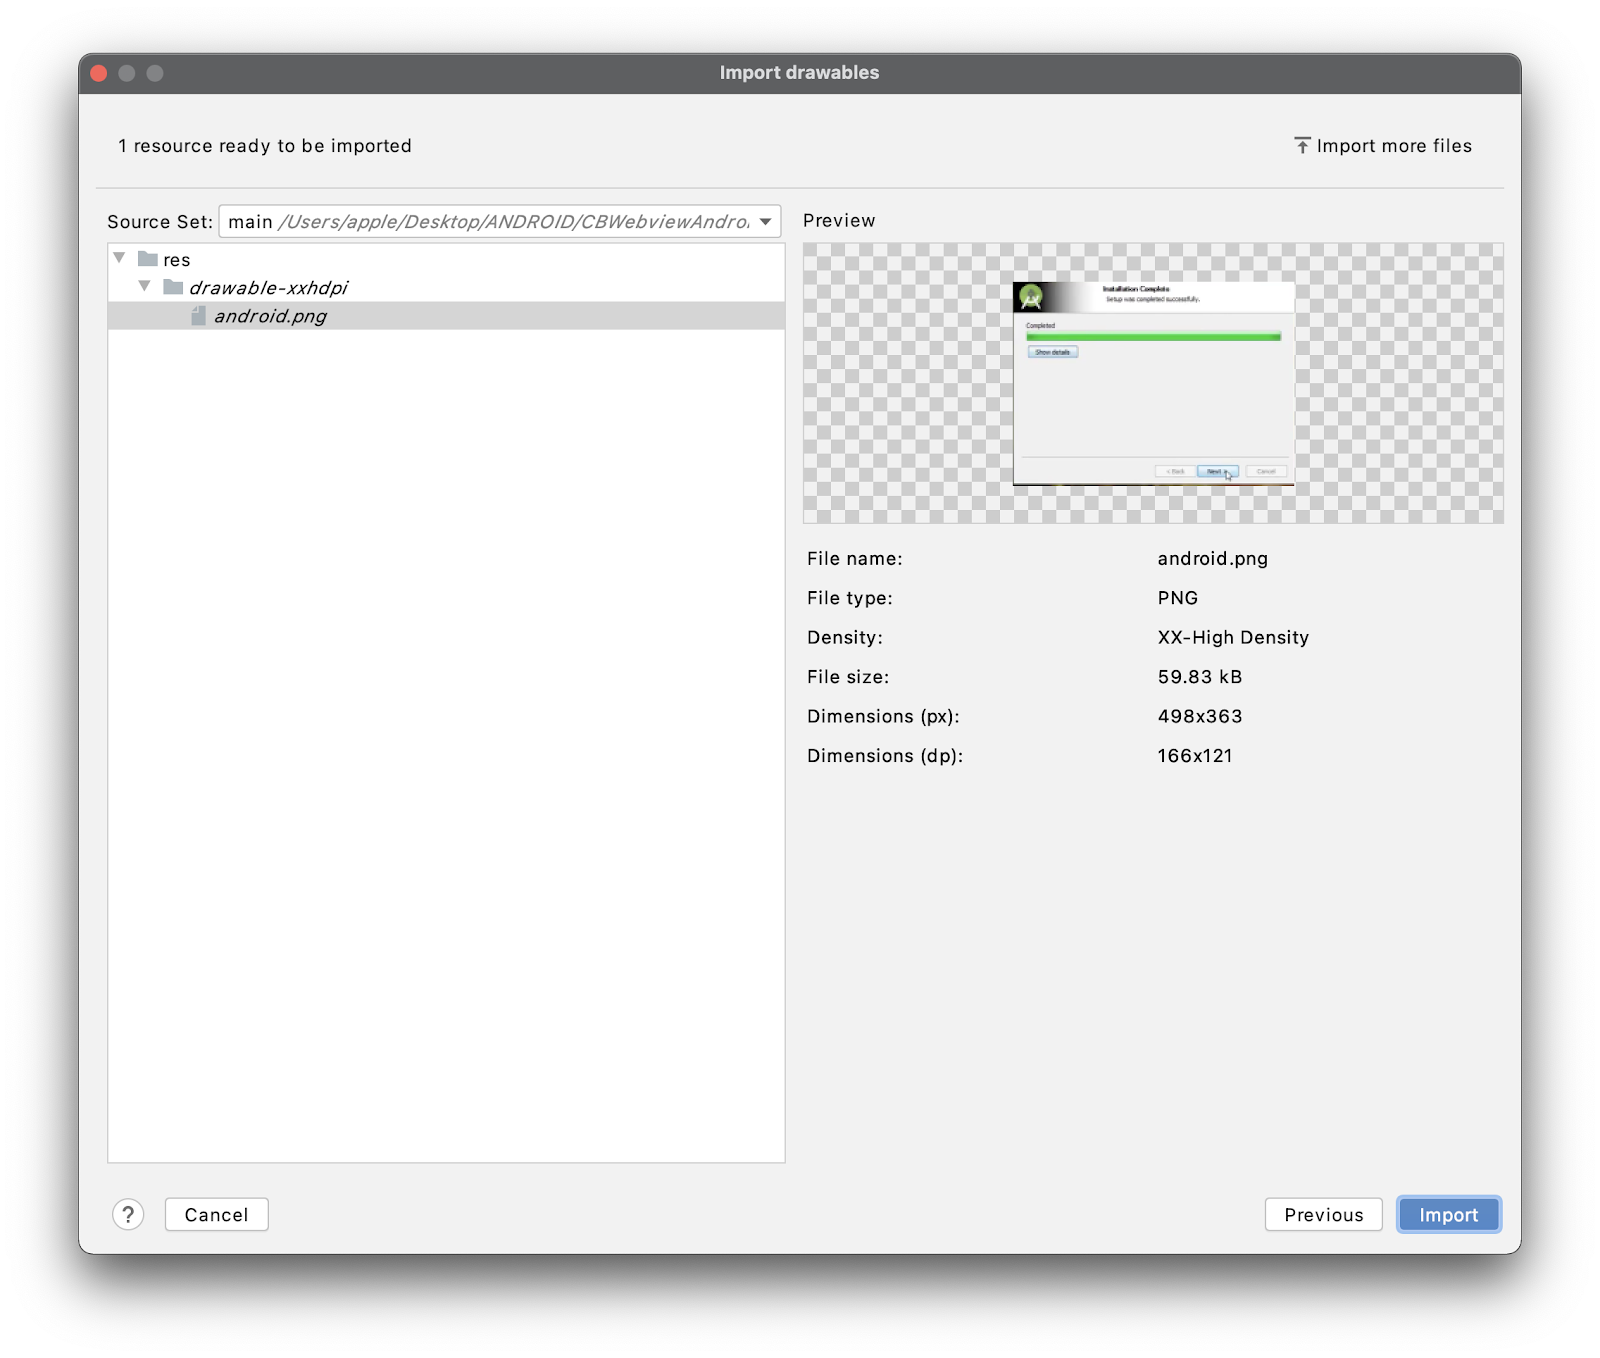
- Rename your image(optional) > Select Qualifier type and value for it as per your requirements. You can add multiple qualifiers too, it helps to decide image usage as per different screen sizes and resolutions, also to adjust image color and etc. You can also import more images using the Import more files option on the top right corner of the dialogue.

- Click Next. > Click Import.
To upload a SVG file :
- Click over Vector Asset. Asset Studio dialogue pops up
- Rename your file (optional) > Click over the Folder icon to select the path of SVG/PSD file you want to load > Set size and opacity as per your requirement.

- Click Next > Click Finish.
Image upload in Android Studio 2.2 and above until 3.3 :
- Right-click on res > new -> Image Asset

- On Icon Type choose Action Bar and Tab Icons
- On Asset type choose Image
- On Path choose your image path > Select theme of the image
- Click Next > Click Finish
