
How to add Google AdMob in the Android App | Android Beginner’s Guide
AdMob is a multi platform mobile ad network that allows you to monetize your android app. By integrating AdMob you can start earning right away. It is very useful particularly when you are publishing a free app and want to earn some money from it.
Integrating AdMob is such an easy task that it takes not more than 5mins. In this article we’ll build a simple app with two screen to show the different types of ads that AdMob supports.
Step 1 :
Before embedding Google Banner Admob in App, we need to register our app for AdMob Service. Click here to Sign Up for Google AdMob.
As AdMob is now part of Google, you can simply sign in with your Google account or register a new one. AdMob requires you to have a valid AdSense account and AdWords account. If you don’t have one or both of these accounts, follow the sign-up process and connect them to your Google Account.

Step 2 :
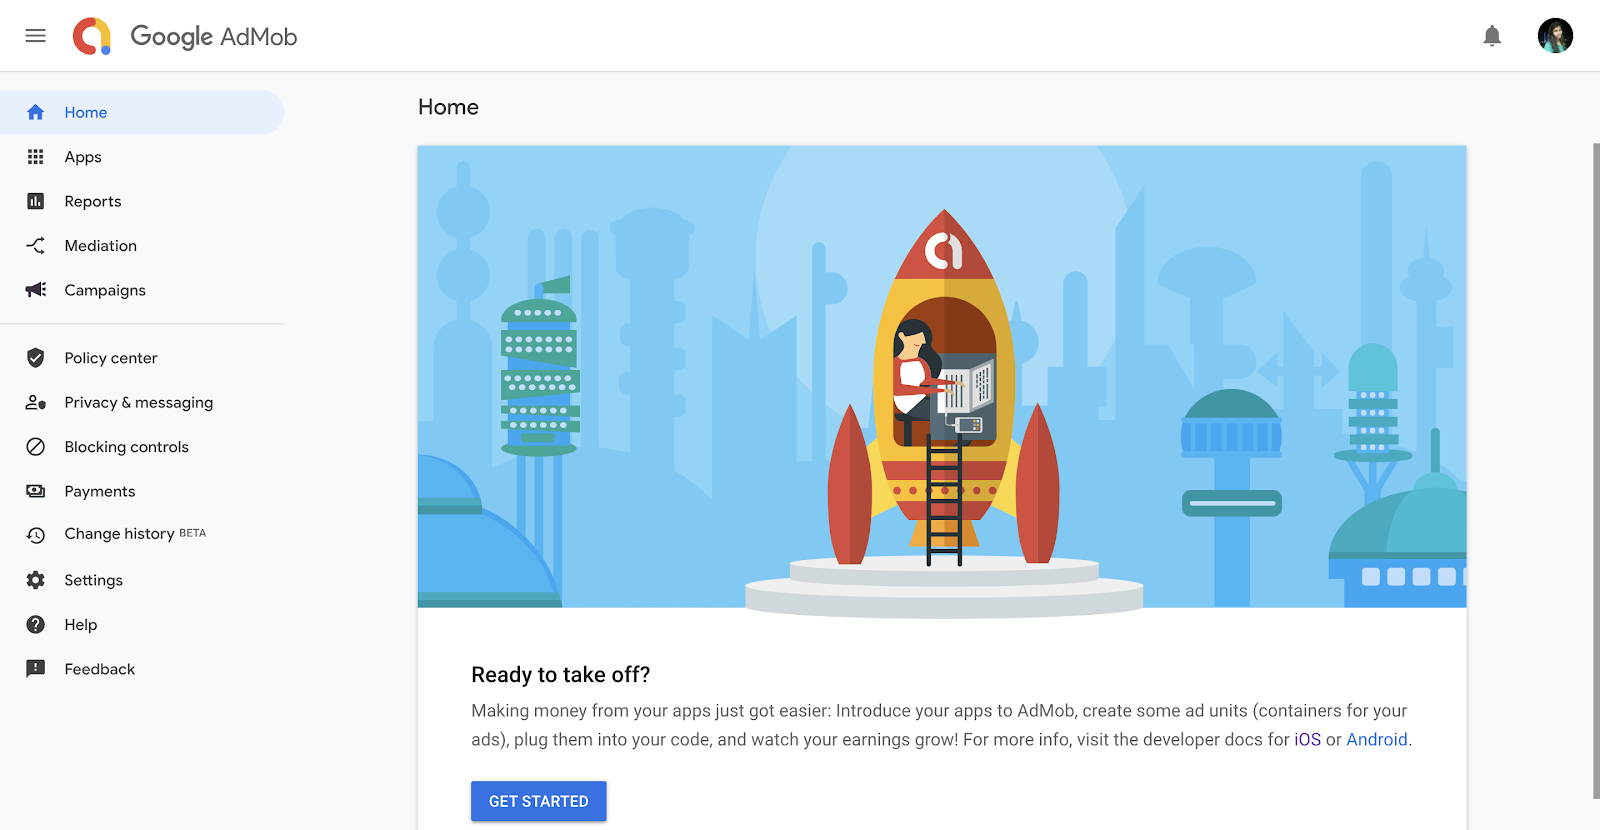
Once you are done with the sign-up process, you will be navigated to the dashboard page. In the navigation on your left, select the Apps option.
Step 3 :
Choose the Add Your First App option. AdMob will first ask you if your app has been published on the App Store. Assuming your app has not been published, choose the option “No”. We will register the app by filling in the form manually.
Set the app name to your app name and choose Android for the platform option. Click Add to proceed to the next step. AdMob will then generate an App ID for the app. Please make a note of this app ID. We will need to add it to our app in order to integrate with AdMob.

Step 4 :
Next, we need to create at least an ad unit. Click Next: Create an Ad Unit to proceed. In this tutorial, we use the banner ad. Select Banner and accept the default options. For the Ad unit name, set it to Banner Ad.

Step 5 :
Click Save to generate the ad unit ID. This completes the configuration of your new app. You will find the App ID and Ad unit ID in the implementation instructions. Please save this information. We will need them in the later section when we integrate AdMob with our Android project.
Step 6 :
Let’s start with Google AdMob integration in our android project. The first and foremost thing is to add google dependency in the Gradle file
Add the following line to your app’s gradle.build in the file:
implementation 'com.google.android.gms:play-services-ads:19.7.0'
Sync your Gradle file. Add the following permissions to AndroidManifest.xml :
<uses-permission android:name="android.permission.INTERNET" />
<uses-permission android:name="android.permission.ACCESS_NETWORK_STATE" />
Also, add meta data of Google Admob in AndroidManifest.xml to provide app ID to your app.
  <application
        android:allowBackup="true"
        android:icon="@drawable/logo"
        android:label="@string/app_name"
        android:theme="@style/Theme.AppCompat.NoActionBar">

        <meta-data
            android:name="com.google.android.gms.ads.APPLICATION_ID"
            android:value="@string/app_ID"/>

    </application>
Now, navigate to your XML file where you want to show the Banner Ad and add the following AdView layout code :
    <com.google.android.gms.ads.AdView
        android:id="@+id/ad_view"
        android:layout_width="match_parent"
        android:layout_height="wrap_content"
        android:layout_centerHorizontal="true"
        android:layout_alignParentBottom="true"
        app:adSize="BANNER"
        app:adUnitId="@string/banner_ad_unit_id"
        />
Now navigate to res > values > strings.xml
<resources>
    <string name="app_name">BannerAds</string>
    <string name="banner_ad_unit_id">ca-app-pub-3940256099942544/6300978111</string>
</resources>
Navigate to activity file (e.g.Mainactivity.java)
package com.codebuzzy.test.bannerads;

import android.support.v7.app.AppCompatActivity;
import android.os.Bundle;

import com.google.android.gms.ads.AdRequest;
import com.google.android.gms.ads.AdView;

public class MainActivity extends AppCompatActivity {
    private AdView adView;
    AdRequest adRequest;
    @Override
    protected void onCreate(Bundle savedInstanceState) {
        super.onCreate(savedInstanceState);
        setContentView(R.layout.activity_main);
        adView = (AdView) findViewById(R.id.ad_view);
        adRequest = new AdRequest.Builder().build();
        adView.loadAd(adRequest);


    }
    @Override
    public void onPause() {
        if (adView != null) {
            adView.pause();
        }
        super.onPause();
    }

    @Override
    public void onResume() {
        super.onResume();
        if (adView != null) {
            adView.resume();
        }
    }

    @Override
    public void onDestroy() {
        if (adView != null) {
            adView.destroy();
        }
        super.onDestroy();
    }
}
Note: Ads is display on android real device not in android emulator.
Voila! Your app is ready to get earning with Google AdMob.