
Change android project name and bundle package name | Android Beginner’s Guide
Let’s learn how to change the name and app bundle ID of your existing project to make it into a new project.
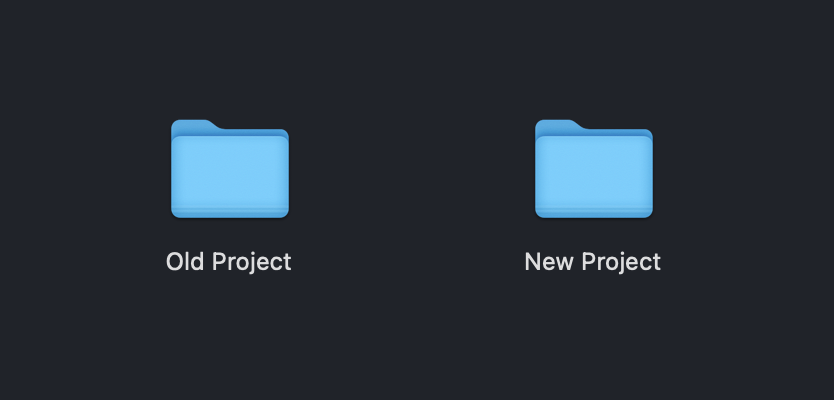
Change the Project Name
Step 1:
Close the Android Studio, go to your project folder, rename it.
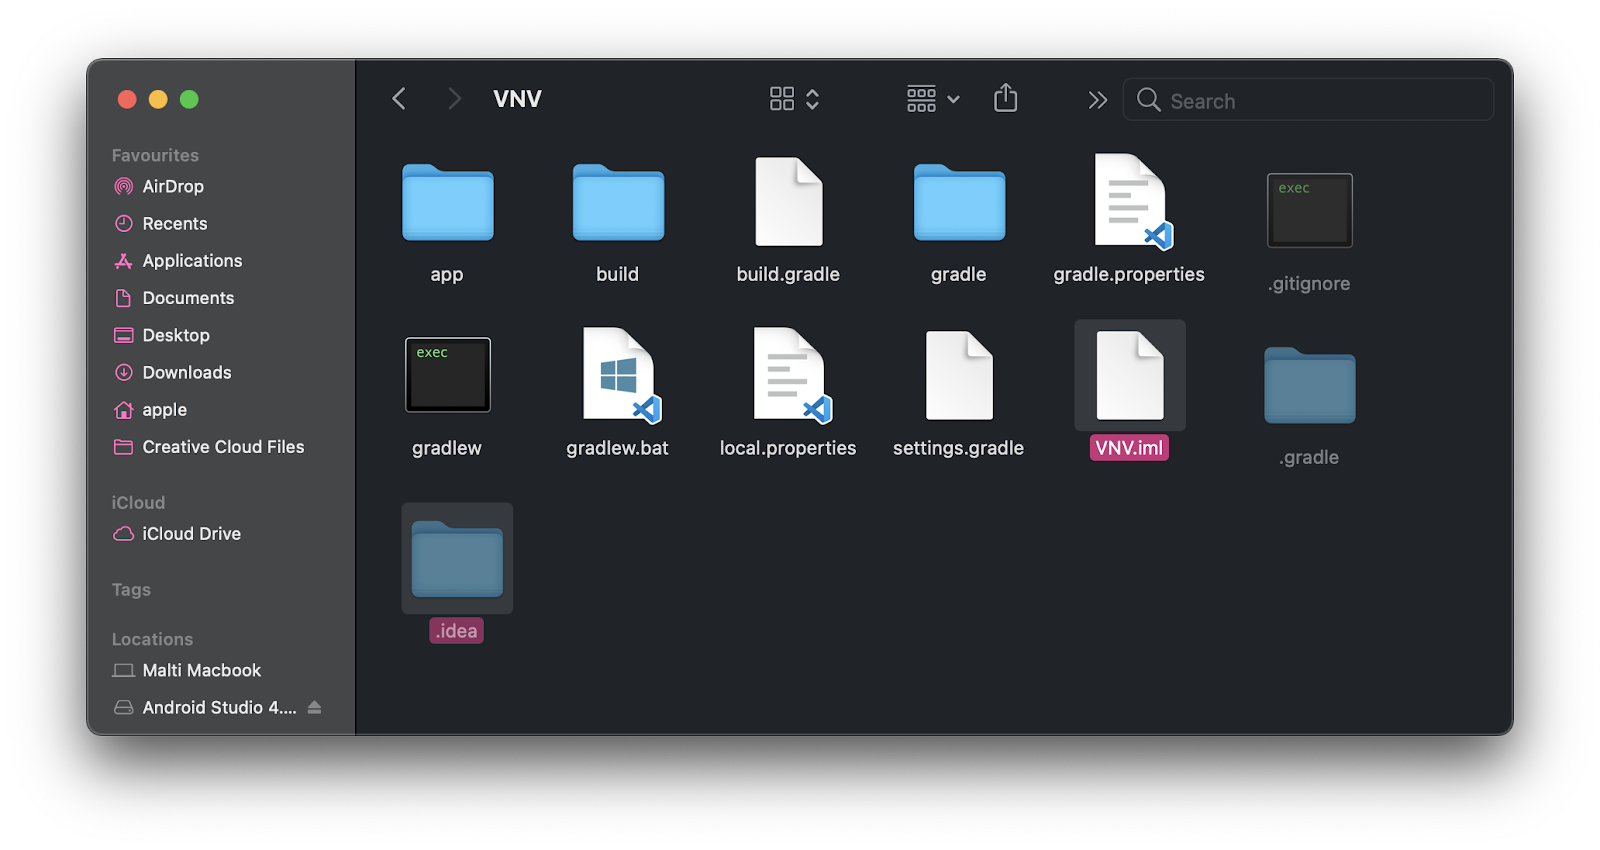
Step 2 :
Head into the renamed folder, you will see the .idea folder and .iml file. Delete them. If you do not find mentioned files then they might be hidden, make hidden files visible and delete them.
Step 3 :
Open Project in Android Studio > Double click Gradle Scripts to expand it > Navigate to settings.gradle file > You will see rootProject name as old project name, rename it. Gradle will prompt you to sync the project, click over Sync Now, and let project gradle sync complete.

Done! The project name has been changed!
Change the App Name
Usually, when you change the project name, you want to change the name of your app too.
Step 1:
Double click res folder > Double click values folder > Navigate to strings.xml
Step 2 :
Change string value of app_name.

Change the Package Name
To rename your package name, all you have to do is go to your AndroidManifest.xml file, put your mouse cursor in front of the part of the package name you want to change.
Step 1 :
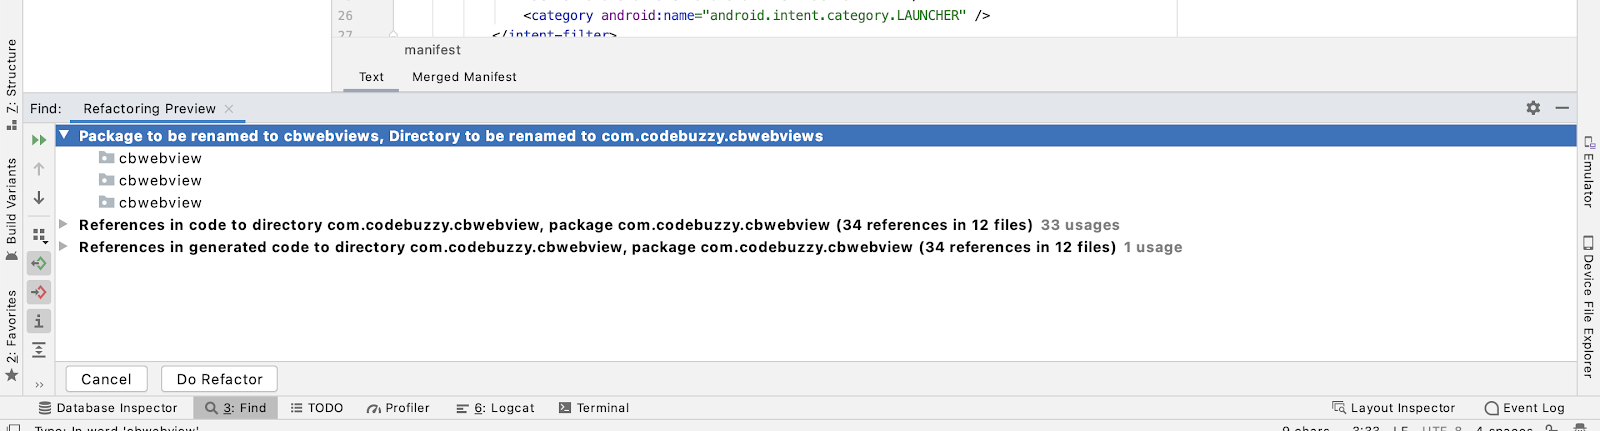
Navigate to AndroidManifest.xml > Select value of package > Right-click over selected value and navigate to Refactor > Click Rename. A popup box will appear asking to Refactor.

Step 2 :
Click over the text field and rename the package. Refactor button will be enabled. Click Refactor and a dialog box will at the bottom of the screen.

Step 3 :
Click Do Refactor.
Your package name usually is in format com.domain.appname, in this example we changed the appname part, but you can do the same steps for the domain too.
Done! You changed your package name!